

Creating a dedicated entertainment space in your home requires careful planning, technical expertise, and attention to detail. A professional home cinema installation transforms an ordinary room into an immersive viewing environment that rivals commercial theaters. Whether you're converting a basement, spare bedroom, or building a purpose-designed space, understanding the core components and installation considerations ensures you achieve optimal performance and long-term satisfaction.
Understanding Home Cinema Installation Fundamentals
Home cinema installation encompasses far more than simply hanging a screen and placing speakers around a room. The process requires careful coordination of audio, video, acoustic treatment, lighting control, and infrastructure planning.
Room Selection and Acoustic Considerations
Choosing the right space forms the foundation of any successful home cinema installation. Dedicated rooms offer superior control over ambient light, sound isolation, and acoustic treatment compared to multi-purpose spaces.
Key room characteristics to evaluate include:
- Ceiling height: Minimum 8 feet, ideally 9-10 feet for proper speaker placement and overhead channels
- Room dimensions: Avoid perfect squares or cubes; rectangular rooms with a 1.6:1 length-to-width ratio work best
- Structural access: Ceiling and wall cavities for running cables and mounting speakers
- HVAC considerations: Adequate ventilation without excessive noise intrusion
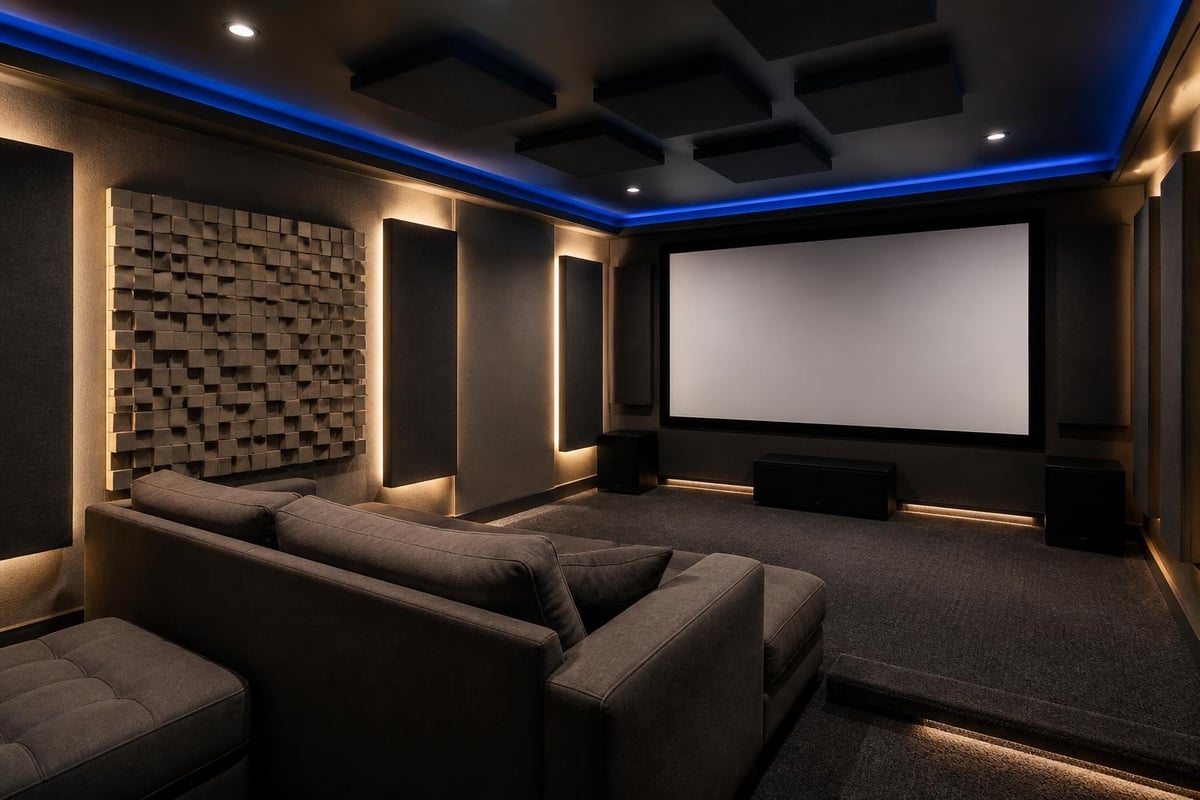
Acoustic treatment dramatically impacts sound quality. Reflective surfaces create echoes and muddy dialogue, while proper absorption and diffusion create clear, controlled sound. First reflection points on side walls, bass traps in corners, and ceiling treatment address the most common acoustic issues. Organizations like the Audio Engineering Society provide technical research on room acoustics and measurement practices for those seeking deeper understanding.
Display Technology Selection
The heart of any home cinema installation centers on the display technology. Two primary options dominate: large-format displays and projection systems.
Projection systems remain the preferred choice for true cinema experiences, offering screen sizes from 100 to 150+ inches. Modern 4K laser projectors deliver exceptional brightness, contrast, and color accuracy. However, projection requires careful planning of throw distance, screen size, and mounting position. Epson’s projection distance reference materials provide essential calculators for matching projector placement with desired screen size.
Large-format displays offer simplicity and ambient light performance but typically max out around 85-100 inches. For home cinema installation in bright rooms or multi-purpose spaces, high-brightness LED displays present a practical alternative. Proper calibration remains critical regardless of technology choice, and resources like RTINGS’ TV calibration guide help achieve accurate picture settings.
| Display Type | Typical Size Range | Best For | Key Consideration |
|---|---|---|---|
| Laser Projector | 100-200+ inches | Dedicated dark rooms | Throw distance calculation |
| LED/OLED Display | 65-100 inches | Multi-purpose spaces | Viewing angle coverage |
| Premium Projector | 120-150 inches | Purpose-built cinemas | Ambient light control |
Audio System Design and Speaker Placement
Sound quality defines the home cinema experience just as much as visual performance. Modern immersive audio formats like Dolby Atmos create three-dimensional soundscapes with overhead channels and object-based audio rendering.
Surround Sound Configuration Options
Home cinema installation typically follows one of several standard speaker configurations:
- 5.1 Systems: Five speakers plus subwoofer (front left/center/right, surround left/right)
- 7.1 Systems: Seven speakers plus subwoofer (adds rear surround channels)
- 5.1.2 Atmos: 5.1 base layer plus two overhead/height speakers
- 7.1.4 Atmos: 7.1 base layer plus four overhead speakers (recommended minimum for true Atmos)
- 9.1.6 Atmos: Professional-grade configuration with extensive overhead coverage
Dolby’s speaker setup guide provides authoritative placement recommendations for each configuration, including precise angles and distances.
Speaker selection dramatically affects sound quality and installation complexity. In-wall and in-ceiling speakers offer clean aesthetics and simplified placement but require wall access during installation. Traditional cabinet speakers provide easier upgrading and repositioning but consume floor space and require careful cosmetic integration.
Subwoofer Placement and Bass Management
Low-frequency reproduction requires specialized attention during home cinema installation. Subwoofers reproduce frequencies below 80Hz, where room acoustics heavily influence performance.
Multiple smaller subwoofers often outperform a single large unit by:
- Smoothing bass response across multiple seating positions
- Reducing localization and pressure zone effects
- Providing redundancy and headroom
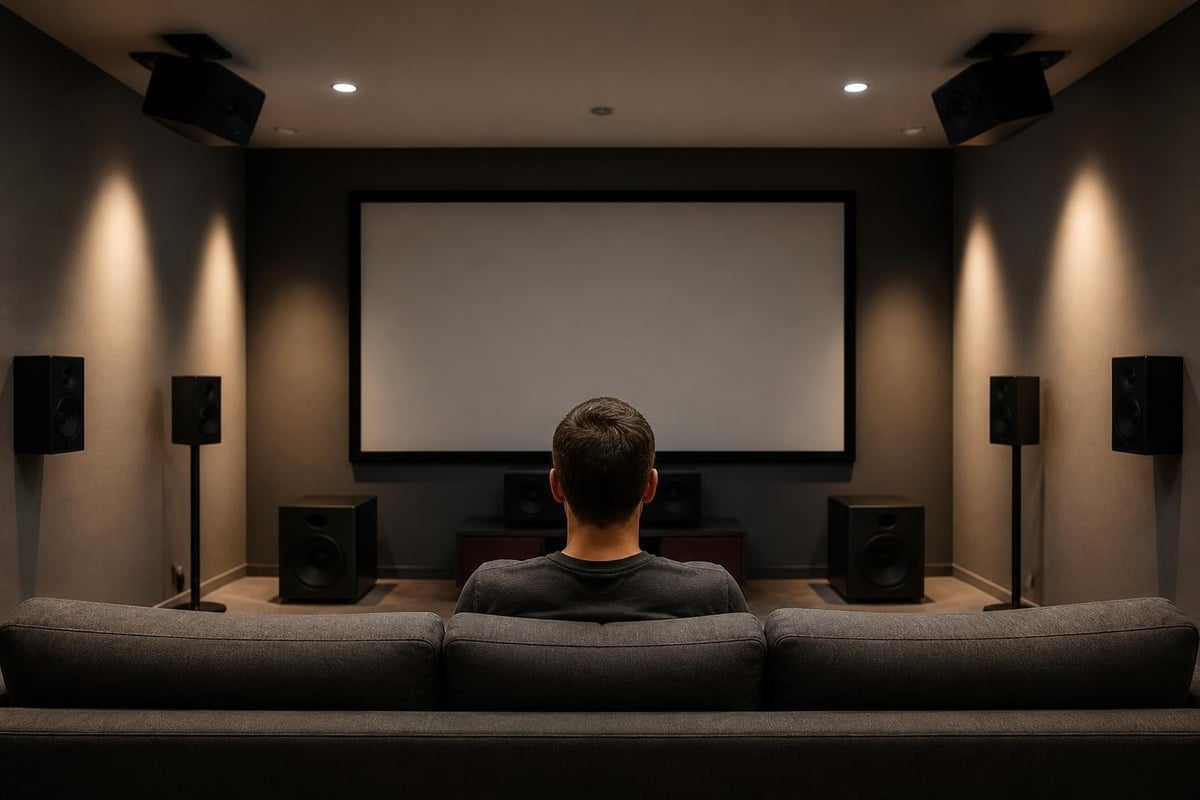
Placement strategies include corner loading for maximum output, mid-wall placement for smoothness, or distributed arrays using three or four units. Professional calibration with measurement tools identifies optimal positions for your specific room geometry.
Infrastructure and Cable Management
Behind every impressive home cinema installation lies extensive infrastructure planning. Cable pathways, power distribution, and equipment racks require design attention before construction begins.
Structured Wiring Requirements
Professional home cinema installation demands comprehensive wiring throughout the room:
- HDMI cables: Ultra High Speed HDMI (48Gbps) for 4K/120Hz and 8K compatibility
- Speaker wire: 12-14 AWG for distances under 50 feet; thicker for longer runs
- Control wiring: CAT6 for network streaming, control systems, and IP devices
- Power circuits: Dedicated 20A circuits for projection and amplification equipment
Conduit installation provides future flexibility, allowing cable upgrades without wall demolition. Installing 1.5-2 inch conduit between equipment locations and the ceiling permits technology refreshes as standards evolve.
Electrical safety remains paramount. Following National Electrical Code guidelines ensures proper circuit protection, grounding, and surge suppression. Dedicated circuits prevent voltage sag and electrical noise from household appliances.
Equipment Rack Design
Centralized equipment storage simplifies installation and maintenance. Rack-mounted components provide professional organization and cooling efficiency.
Equipment typically includes:
- AV receiver or separate processor and amplifiers
- Video sources (media player, game console, streaming device)
- Network equipment (switch, router)
- Power conditioning and battery backup
- Control system processor
Ventilation prevents thermal throttling and extends component lifespan. Equipment generates significant heat, especially high-power amplifiers. ASHRAE ventilation standards provide guidance on air exchange rates and thermal management in enclosed equipment spaces.
Seating and Environmental Control
Comfortable seating positioned at optimal viewing distances enhances the home cinema installation experience. Theater seating designed for cinema use provides superior ergonomics compared to residential furniture.
Viewing Distance and Screen Size Relationship
SMPTE (Society of Motion Picture and Television Engineers) recommends positioning viewers so the screen occupies approximately 30-40 degrees of their horizontal field of view. For a 120-inch diagonal 16:9 screen, optimal viewing distance falls between 10-13 feet.
Tiered seating solves sightline issues in rooms accommodating multiple rows. An 8-12 inch rise per row ensures rear viewers see over those in front. Purpose-built riser platforms integrate wiring channels for convenience and safety.
| Screen Size | Minimum Distance | Optimal Distance | Maximum Distance |
|---|---|---|---|
| 100 inches | 8.3 feet | 10.4 feet | 12.5 feet |
| 120 inches | 10 feet | 12.5 feet | 15 feet |
| 150 inches | 12.5 feet | 15.6 feet | 18.8 feet |
Lighting and Ambient Control
Light control separates mediocre home cinema installation from exceptional results. Even small amounts of ambient light reduce perceived contrast and color saturation.
Effective light control strategies include:
- Blackout window treatments: Eliminate external light completely
- Door light seals: Prevent hallway light intrusion
- Controlled accent lighting: LED strips with dimming for safety and ambiance
- Automated control: Integrated lighting scenes for different activities
HVAC noise requires careful attention. Supply and return vents positioned away from seating areas reduce distraction. In-line duct silencers and variable-speed fans minimize mechanical noise during quiet movie passages.
Professional Installation vs. DIY Approaches
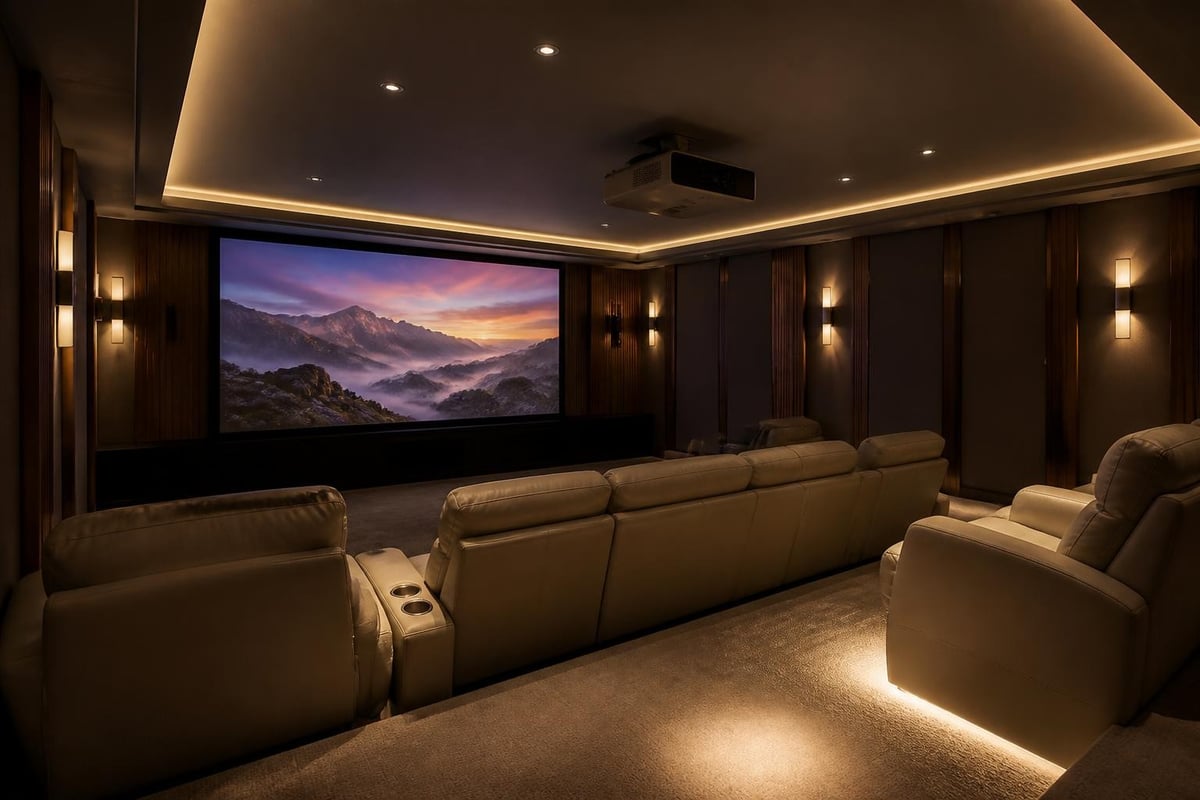
Home cinema installation complexity varies dramatically based on scope and performance goals. Simple systems with soundbars and displays suit DIY installation, while sophisticated multi-channel Atmos systems with architectural speakers benefit from professional expertise.
When Professional Installation Makes Sense
Professional installers bring value through:
- Technical expertise: Understanding complex AV signal routing, calibration, and troubleshooting
- Specialized tools: Acoustic measurement equipment, cable certification testers, calibration software
- Trade relationships: Access to architectural speaker lines and commercial-grade components
- Warranty protection: Many premium brands require professional installation for warranty coverage
- Project management: Coordinating with electricians, carpenters, and other trades
Custom integration handles the entire process from design through final calibration. This full-service approach ensures cohesive results and eliminates finger-pointing between trades when issues arise.
For clients seeking a turnkey cinema experience, ANR media delivers expertly designed and installed solutions. The Home cinema room offering includes complete design, acoustic treatment, projection systems, immersive audio, and seating in packages ranging from R 350,000 to R 950,000, with a unique stacking design approach that lets you select the exact room configuration matching your space and budget.
DIY Considerations and Limitations
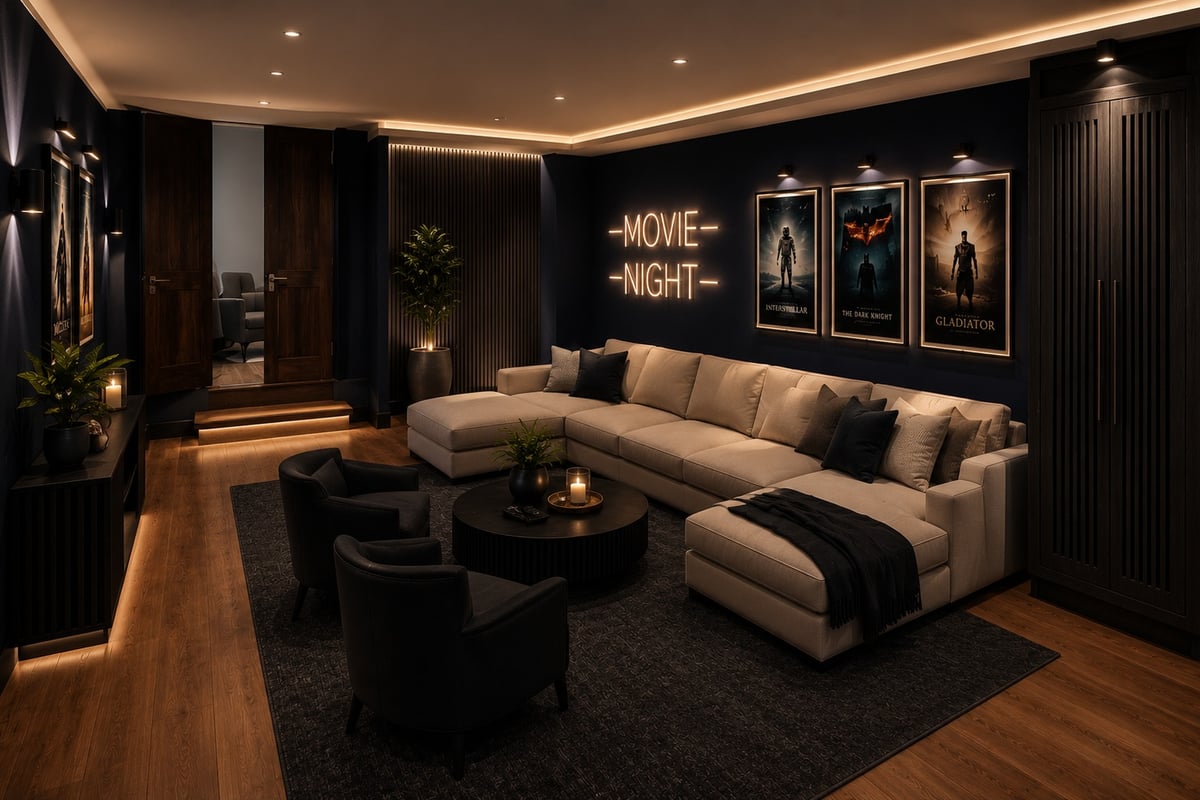
Enthusiast-level installation remains viable for those with technical aptitude and proper research. Modern AV receivers include automatic calibration systems that measure speaker distances and levels using included microphones.
DIY challenges include:
- In-wall speaker installation: Requires cutting drywall and running cables through walls
- Projector mounting: Ceiling access and precise alignment
- Acoustic treatment design: Identifying problem frequencies and treatment placement
- System calibration: Advanced receivers offer manual tuning that surpasses automatic systems
The hybrid approach works well: hire professionals for architectural work (speaker installation, wiring, construction) while handling equipment selection and basic calibration yourself.
Calibration and System Optimization
Even perfectly installed components require calibration for optimal performance. Audio calibration adjusts speaker levels, distances, crossover frequencies, and equalization. Video calibration optimizes picture settings for your specific room lighting and content preferences.
Audio Calibration Process
Modern AV receivers automate basic calibration but manual refinement improves results:
- Speaker level matching: Ensures consistent volume across all channels using an SPL meter
- Distance/delay setting: Aligns sound arrival times from each speaker to the listening position
- Crossover configuration: Directs proper frequency ranges to speakers and subwoofers
- Room correction EQ: Compensates for acoustic problems using sophisticated DSP
- Subwoofer integration: Blends low frequencies seamlessly with main speakers
Professional calibration using measurement microphones and analysis software reveals room acoustic issues invisible to automatic systems. Detailed guidance from Dolby’s installation guidelines helps achieve specification-compliant performance.
Video Display Calibration
Projectors and displays ship with factory settings optimized for showroom environments, not darkened home theaters. Calibration adjusts brightness, contrast, color temperature, and gamma for accurate reproduction.
Essential calibration adjustments:
- Picture mode selection: Cinema or Movie modes provide better starting points than Vivid or Dynamic
- Brightness and contrast: Establish proper black level and white level without clipping
- Color temperature: 6500K (D65) standard matches content mastering and appears neutral
- Color accuracy: Advanced calibration requires colorimeter or spectrophotometer measurement
- HDR tone mapping: Matches display capabilities to high dynamic range content demands
Reference patterns and test discs provide targets for each adjustment. Professional video calibration yields noticeable improvements in color accuracy, shadow detail, and highlight rendering.
Ongoing Maintenance and Upgrades
Home cinema installation represents a significant investment requiring periodic maintenance. Projector lamps or laser modules eventually dim, requiring replacement or service. Receiver firmware updates add features and fix compatibility issues with new content formats.
Maintenance Schedule
Regular upkeep preserves performance:
- Monthly: Dust speakers, clean display/lens, check cable connections
- Quarterly: Update receiver and source device firmware
- Annually: Recalibrate audio system, clean projector filters, inspect cable condition
- As needed: Replace projector lamps (2000-5000 hours typical), update aging cables for new standards
Component lifecycle planning prevents obsolescence surprises. Display technology typically lasts 10-15 years, while receivers and processors may require updates every 5-7 years as new audio and video standards emerge.
Future-Proofing Strategies
Technology evolution makes complete future-proofing impossible, but smart choices extend system relevance:
- Conduit installation: Permits cable upgrades without wall destruction
- Modular approach: Separating processing from amplification allows targeted upgrades
- Standards compliance: Choosing current-generation HDMI, speakers, and display technology
- Flexible speaker placement: Dolby Atmos layouts accommodate additional height channels later
Planning for expansion during initial home cinema installation costs less than retrofitting. Running spare cables and installing extra speaker positions during construction provides upgrade paths at minimal additional expense.
A successful home cinema installation balances technical performance, aesthetic integration, and long-term value. Whether you're planning a modest surround system or a reference-grade theater, attention to room acoustics, proper speaker placement, and professional calibration separate good results from exceptional experiences. ANR media specializes in custom home cinema and audio video solutions, from multiroom audio systems to complete bespoke cinema room conversions, bringing technical expertise and proven design approaches to create your ideal entertainment space.